01
Crosshair Placement Is Everything
Keep your crosshair at head height at all times. Never walk with it pointed at the floor — the enemy who peeks you wins if your reticle is already on them.
72 pro-level tips, 8 agent guides, practice drills and an economy cheatsheet — everything you need to climb from Iron to Radiant, one match at a time.
Keep your crosshair at head height at all times. Never walk with it pointed at the floor — the enemy who peeks you wins if your reticle is already on them.
As you clear a corner, place your crosshair exactly where an enemy head will appear. Jiggle-peek the angle first so you know it's clear before you commit.
Recoil on the Vandal and Phantom is tight for the first 4–6 shots. Burst-fire 4–5 rounds, reset, re-aim. Full-mag sprays are uncontrollable at range.
Most pros play between 200–400 eDPI (DPI × in-game sens). Lower sens = steadier micro-adjustments. If you're above 600 eDPI, try dropping it gradually.
Firing while moving is wildly inaccurate. Counter-strafe: tap the opposite key to dead-stop, then shoot. Your bullets will land exactly on your crosshair.
Snappy flicks look cool but lose to smooth tracking. Keep your crosshair glued to head level and glide between targets instead of whipping.
10 minutes in the Range beats an hour of aim theory. 50 easy bots, then 30 medium, then strafing bots. Do it before your first comp game.
After your first kill, keep your crosshair at head level and sweep to the next enemy — don't drop to the body and re-aim up.
Pick a crosshair color and size you can see on every map — bright green or cyan with a black outline works on most Valorant maps. Tweak until you stop losing it in fights.
When you let go of A and tap D for a split second, your character stops instantly instead of sliding. That instant stop = instant accurate shot.
Peek corners in tiny stutter-steps to bait shots and gather info. Wide-swinging into an unknown angle gets you killed by anyone holding it.
Shift-walking everywhere makes you slow and predictable. Sprint to rotate and take space, then walk only in the last few meters before a critical angle.
Skill jumps (Omen's Haven boxes, Viper's Icebox screens, etc.) win rounds. Learn 1–2 per map you queue and use them when enemies least expect it.
Valorant has no real bhop. Stop practicing it — spend that time on strafe timing and dead-stops instead, which actually win fights.
Jump-peeking lets you see over cover and spot enemies holding an angle without exposing your body. Use it to check common OP lines.
Never re-peek the same corner at the same height with the same timing. Change your strafe, crouch, or jump — the enemy is already pre-aiming your first peek.
Crouch-spraying by default makes you a stationary target. Crouch only as a deliberate micro-adjustment, not as a reflex every time you shoot.
In a 1v1, don't stand still. Strafe between shots to dodge enemy bullets and force them to miss — then punish the whiff.
Five rifles + armor beats three rifles and two pistols. Coordinate: full-buy together, force together, or save together — never split the difference.
Round win ≈ +3,000, loss ≈ +1,900 (+300 per consecutive loss, up to +3,400). Kill bonus +200. If you're under ~3,900 after a loss, save for a full buy.
On a half-buy, grab a Ghost/Frenzy + full armor + as much utility as you can afford. Abilities win rounds more often than a cheap rifle does.
If the enemy saved last round, expect a full-buy now — they'll push with rifles and utility. Adjust your positioning and fights accordingly.
If you're rich and a teammate is broke, buy the weapon and drop it for them. An extra rifle on the field wins more rounds than your second Vandal.
If you can't afford both, buy armor first. Heavy armor (1,000) turns one-taps into survive-able fights and is worth more than any single ability.
Don't throw the pistol round. Buy a Ghost/Sheriff or armor + util, play smart, and take the +3,000 bonus. Round 1 momentum decides the first buy phase.
After winning with enemy rifles, don't overextend chasing kills. Play safe, preserve the bonus weapons, and don't give the enemy free rifles back.
Vandal/Phantom (2,900) + heavy armor (1,000) = 3,900. Anything less means no rifle or no armor — decide as a team which one to sacrifice.
Climbing is faster mastering one agent's lineups, timings and utility than half-knowing five. Pick a role, main one agent, learn 2–3 setups per site.
Never dry-peek with abilities up. Flash, smoke, recon or stun first — then peek with your crosshair pre-placed. Utility makes your gunfight unfair.
Your signature ability recharges every 30–45 seconds. Don't dump it the second it's up — hold it for the round's critical moment, then use it again when it refreshes.
Duelists entry and take space. Initiators enable entries with info and flashes. Controllers shape the map with smokes. Sentinels anchor sites and watch flanks. Do your job.
One smoke lineup, one flash/slow, one post-plant ability. Practiced lineups win rounds that raw aim can't — especially in post-plant situations.
Two ultimate abilities used together win rounds. Track your team's and the enemy's ult status, and time big ults (Raze, Killjoy, Sova) for the same execute.
When your duelist entries, you move in right behind them. The trade kill matters more than the entry kill — a traded site take beats a lost one.
Some agents counter others (Killjoy vs. fast executes, Sova vs. lurking Cypher). Adjust your utility and positioning when you know who you're facing.
By Platinum, everyone can aim. The players who climb are the ones who use utility to create unfair fights — flash before entry, smoke before rotate, recon before peek.
At round start, take your site's defaults (A-main, mid, B-main) to gather info without committing. Defaults win you info — and info wins rounds.
Every map has named spots (Heaven, Hell, Cubby, Market, CT). Knowing callouts lets your team describe enemy positions in one second instead of five.
Track enemy smokes, flashes and drones each round. If a site has seen no utility and no pressure, the execute is probably coming elsewhere — rotate early.
Pro players glance at the minimap constantly. It shows teammates' positions, enemy last-seens, and spike carriers — glance, process, decide.
Footsteps, abilities and gunshots all carry. If you hear the enemy rotating through mid, you have 3–4 seconds to reposition or punish the rotate.
Spike plant takes ~3.5 seconds, defuse ~4. Use the spike timer to decide: fake the defuse, retake together, or play the clutch with time pressure on the enemy.
After planting, don't hunt kills. Hold retake-friendly angles where you can see the defuse and fall back safely. Time pressure does your work.
The first 30 seconds of a round are for gathering info, not fighting. Default, hear what you need, then execute with numbers on the right site.
After 12 rounds you know the enemy's tendencies. Do they always rush A? Do they save too often? Adjust your defaults and utility for the second half.
"Two mid with a Jett" beats "they're coming mid". Include location, count and agents. Fast, specific calls let teammates rotate or pinch in time.
When you die, say where you died, what killed you, and damage dealt ("Viper A-heaven, one-shot"). Your death is still your team's best info.
In the buy phase, agree on the execute: who smokes, who flashes, who enters first, and the split. Planned rounds win 2x more often than improv.
When a teammate is in a 1vX, go silent. One calm voice gives the info; the rest stay quiet. Chatter in the clutch loses clutches.
Not everyone speaks your language. Ping the enemy location and marker the site you're executing — visual comms work when voice comms fail.
Flaming teammates costs rounds — tilted teammates play worse and comm less. A quick "nice try" or "good info" keeps the team engine running.
Info is a two-way street. If you only call and never listen, you'll miss the callouts that matter. Keep your ears open between your own calls.
"Viper wall mid", "Sova recon A", "Raze nade B". Knowing what the enemy has spent tells your team what angles are safe to push.
Five people shouting five plans = chaos. For executes and rotates, let one voice call the shots — everyone else confirms and follows.
Good positioning means your teammate can trade you if you die. Lone-wolf angles that can't be traded lose rounds when you go down.
Enemies pre-aim the common spots. Hold slightly-off angles — a step wider, a height lower — and you catch them before they adjust.
Get one kill, fall back, reposition. Re-peeking the same angle after a kill is how you give away your advantage and your life.
When holding, stand so that one strafe puts you behind cover. If you're in the open, you're one missed shot from death.
Crossing open mid when the enemy has an OP is a death sentence. Rotate through covered paths even if they're slower — alive beats fast.
Post-plant, position where you can contest the defuse and escape. Retake-friendly > kill-hungry positions win close rounds.
Consistent, correct positioning wins more rounds than highlight reels. Play the percentages, not the clips.
Never swing into two enemies at once. Use utility or reposition to force isolated fights — two 1v1s are winnable, one 1v2 isn't.
Use cover so you only expose yourself to one angle per fight. Clearing and fighting angles sequentially is how site takes go smoothly.
After each round ask: where was my crosshair? Did I use my utility? Was my positioning greedy? Five seconds of review per death compounds into wins.
Tilt queueing is the fastest way to lose rank. Two losses in a row = take 10 minutes. Three = stop for the session. Your rank survives tomorrow.
You can't control wins — you can control crosshair placement, utility usage and comms. Track process stats, and the rank follows.
10–15 minutes before comp: Range bots, then a Deathmatch. Cold aim loses the first two games of every session.
One negative teammate drags the whole team's performance. Mute them the moment they tilt — comms quality directly affects win rate.
Pick one stat to improve per week: headshot %, first-blood %, utility per round, deaths per round. One tracked stat beats vague "get better".
Hands and mind fatigue after intense matches. 5 minutes between games — stand up, stretch, hydrate. Fresh players win close rounds.
The rank is a side effect. Play to make good decisions and the wins stack up. Play to win only and every loss tilts you.
30 focused minutes daily beats a 5-hour weekend grind. Consistent practice rewires your aim and decision-making permanently.
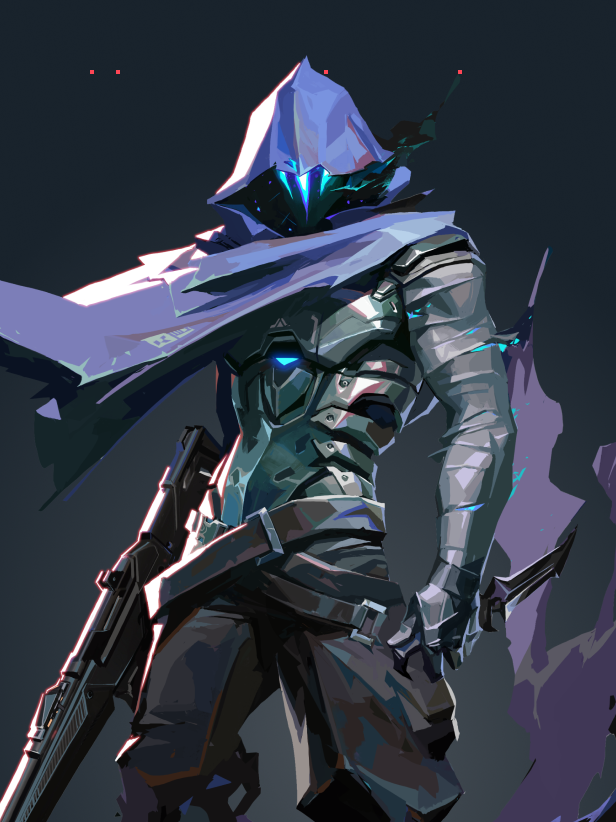
Every Radiant player shares one habit: they replay every death. After each round, ask yourself — where was my crosshair? Did I use my utility? Was my positioning greedy? Five seconds of review per death compounds into thousands of improved fights per act.
Click any agent for a quick guide: playstyle, how to play them, and the top 3 habits that make them strong.
Entry fragger · high mobility · operator specialist
Play Jett as the first one through the door. Use Tailwind to dash through smokes and onto site, Updraft to take unexpected heights, and save Blade Storm for confirmed fights — never waste it in the open.
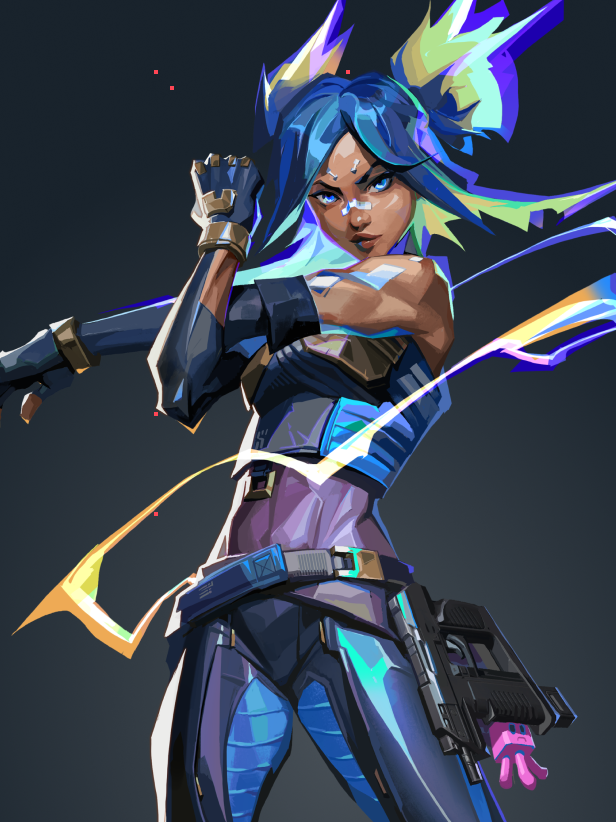
Self-sufficient entry · flash plays · aggressive
Phoenix carries his own entry: flash your own way in with Curveball, wall off angles with Blaze, and use Hot Hands to heal yourself after the trade. His ult is a free round — use it to entry and gather info.
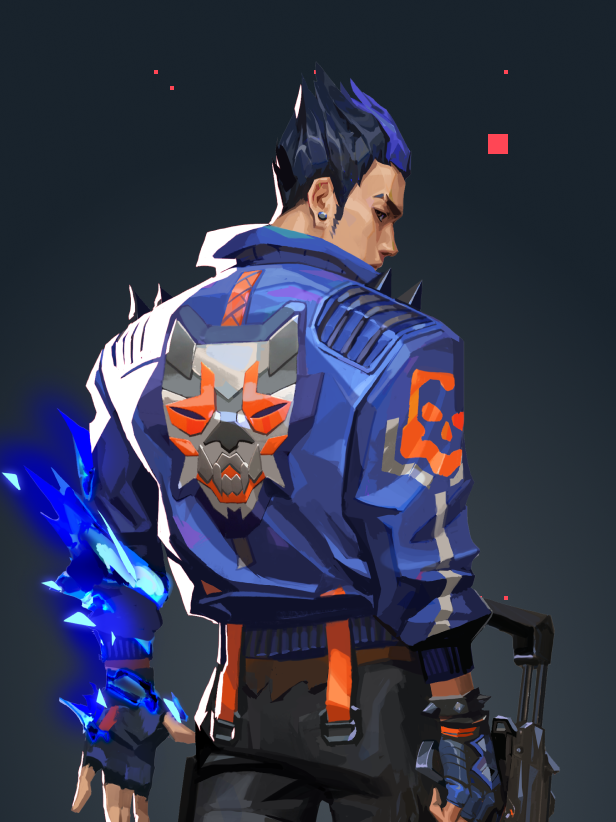
Area denial · explosive entries · site clearing
Raze wins by making space with explosions. Clear corners with Boombot, force enemies off angles with Paint Shells, and use Showstopper to deny or secure a site. Learn her satchel jumps to take fast, unexpected positions.
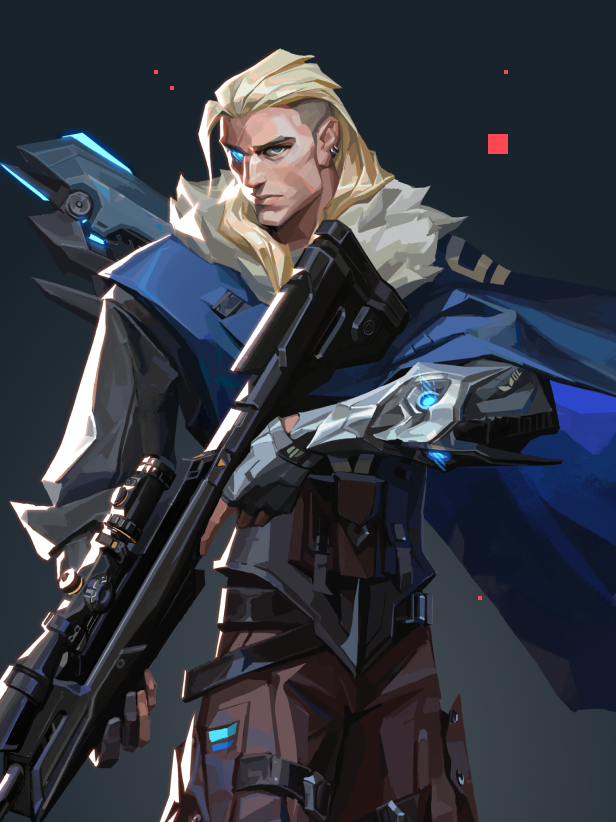
Site anchor · healing · resurrection
Sage controls the pace of a site. Wall off the main entry, Slow Orb the rush paths, and prioritize healing the players who are actively fighting. Save Resurrection for round-winning moments — a 5v4 or 5v3 with rez wins the round.
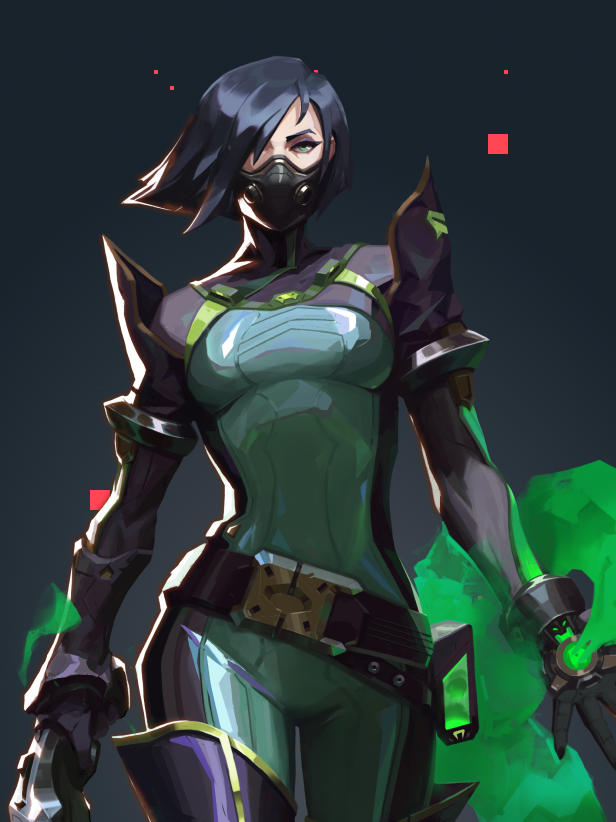
Info gatherer · flank watcher · trap setups
Cypher turns info into kills. Place Tripwires to catch flanks, Cyber Cage to stall executes, and use the Spycam for free recon every round. His value is being everywhere at once — watch the minimap and feed your team intel.
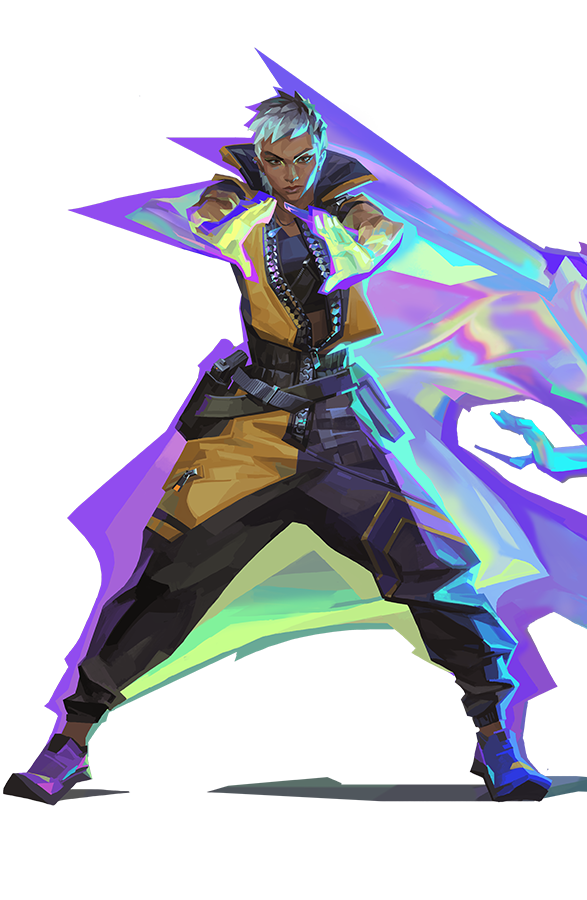
Recon · lineup utility · wallbang pressure
Sova wins rounds before they start. Recon Bolt reveals enemy positions — learn lineups for every site. Use the Drone to clear angles safely, and let teammates shoot through your Owl Drone tags. His ult is a free entry denial on most sites.
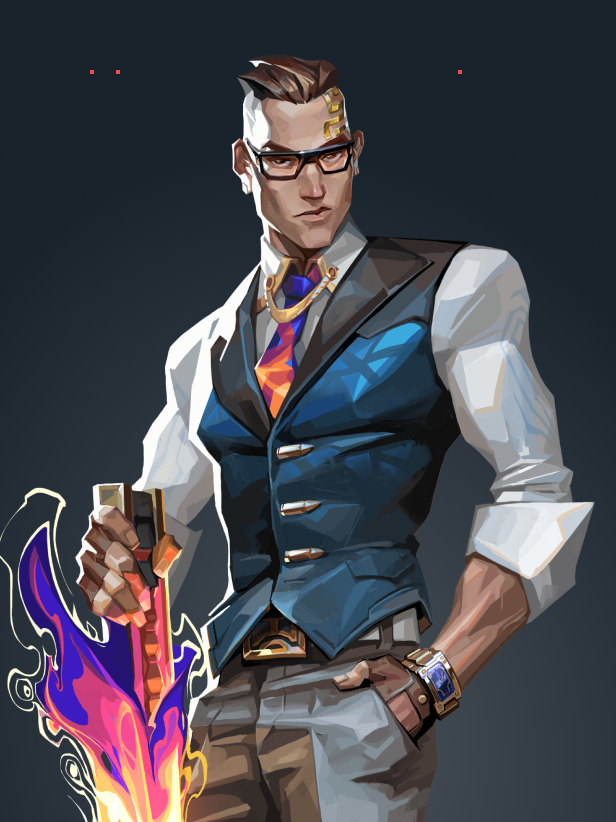
One-way smokes · map control · post-plant queen
Viper shapes the map with poison. One-way smokes make you invisible to enemies peeking through them, and Toxic Screen can split a site in half. Her ult is the best post-plant tool in the game — drop it on the planted spike and watch the enemy panic.
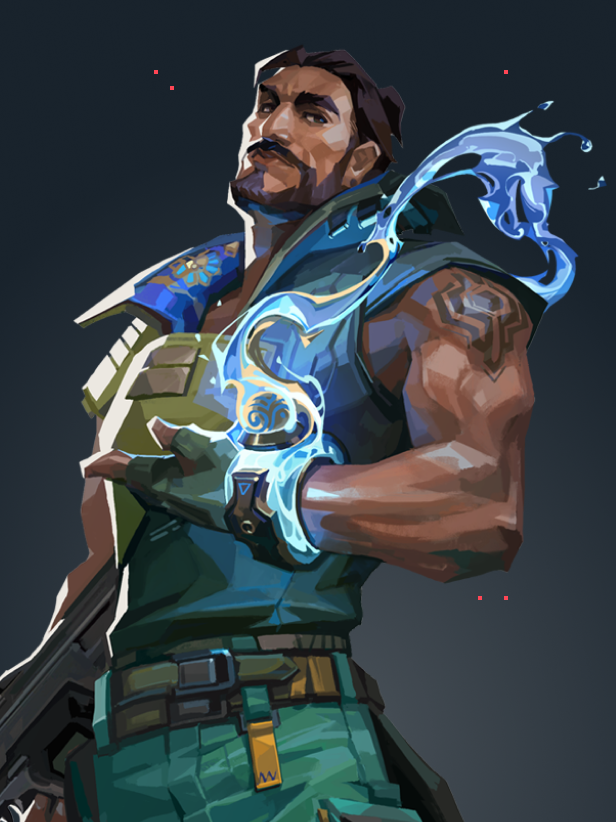
Team utility · simple executes · post-plant molly
Brimstone runs the execute. His three smokes cover a whole site push, and his Stim Beacon speeds up your entry. Sky Smoke is instant — use it to react to enemy rushes. Post-plant, his molly is the best defuse deny in the game.
Consistent daily aim practice rewires your muscle memory faster than long weekend sessions.
Movement accuracy is the #1 mechanical difference between ranks. Stopping instantly = landing shots.
One reliable lineup per situation wins more rounds than any amount of raw aim.
The #1 habit of Radiant players: they review every death and fix one mistake at a time.
| Round | Strategy | What to Buy | Why |
|---|---|---|---|
| Round 1 | Pistol | Ghost/Sheriff + util, or armor + util | Win it for +3,000 momentum |
| Round 2 (win) | Bonus | Keep pistols, buy light util — enemy is saving | Don't overextend chasing rifle drops |
| Round 2 (loss) | Save | Full save or light buy, no rifles | Bank for round 3 full-buy |
| Round 3 (lost 2) | Full Buy | Rifle + heavy armor + util (~3,900+) | You now have full money with streak bonus |
| Round 4+ | Force / Save | Force only with 4+ teammates; otherwise save | Never split: force together or save together |
| Late half | Adapt | Track enemy economy, mirror their buys | If they save, they full-buy next — play safe |
Every player buys rifle + heavy armor + full utility. Usually costs 3,900+ credits per player.
Buying weapons/armor when you can't afford a full buy — usually after 1 loss, to avoid a save round.
Buying nothing or almost nothing to bank credits for a full buy next round.
A round after winning where you keep your weapons, buy only light utility, and play conservatively.
Killing an enemy who just killed your teammate. Trading is the core of team fights.
The first player into a site — usually a Duelist. Their job is to take space and die for the trade.
Playing away from your team to catch rotations and flanks. A lurk is patient and quiet.
Taking map control at round start to gather info before committing to a site execute.
Recapturing a site the enemy planted on — usually played as a team with utility.
Winning a round when you're the last player alive against multiple enemies.
Killing an enemy with a single headshot — the Vandal's specialty.
Sweeping your crosshair between targets while spraying, keeping bullets at head level.
Rapidly stutter-peeking a corner to bait shots and gather info without committing.
Tapping the opposite movement key to stop instantly before shooting — the key to accurate movement.
Holding an unexpected position that enemies won't pre-aim — catches them off guard.
A practiced, exact position to throw an ability (smoke, molly, recon) from a safe spot.
Operator — the one-shot sniper rifle. A powerful but expensive and slow weapon.
Effective DPI: mouse DPI × in-game sensitivity. Most pros use 200–400.
One new tip, one drill, and one lineup every Monday. Free, no spam — unsubscribe anytime.